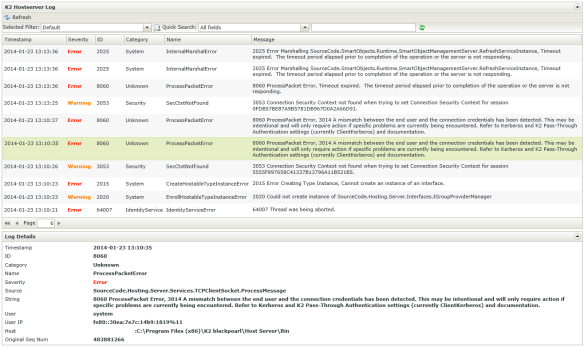
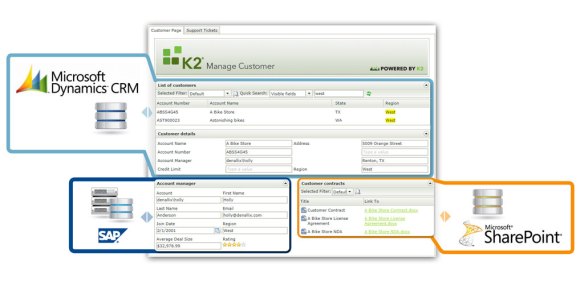
If you design and develop K2 solutions, like I do, you will frequently make use of the K2 Host Server log file to find answers on why things go wrong. And the bad thing about text log files is the readability. So when searching the market on the K2 Underground today to see if somebody already created a K2 Log Viewer I found one. But this is a fat client that you need to install. During my search I also stumbled across this article about Logging to a SQL table, and that made me realise that there was a much better an easier to use solution: K2 smartforms. Since I use K2 smartforms all day to design business applications why not leverage it to design a simple but very effective K2 Host Server Log Viewer? So this was going to be my lunch hour project! In this blog post I will take you through the steps I took to make it work with K2 smartforms. Here’s the end result:
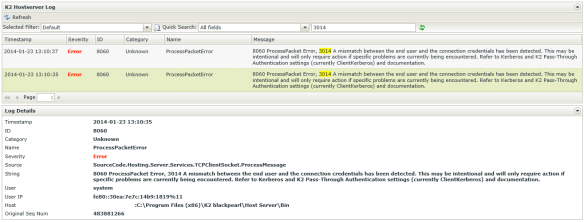
And because searching in a list view is enabled by default it’s easy to search the logs as well:
Create the SQL LogArchive table
As described in the article about Logging to a SQL table, by default K2 will log the HostServer.LogArchive table in the K2 database. But this table doesn’t have a unique identifier column (primary key), which means that the SQL Server instance for creating smartobjects only creates a List method. I want to make use of smartforms item views so I decided to create my own table in a separate database with a primary key column. In the code section below the SQL script I used to create the LogArchive table. Important: the name of the table should be LogArchive and the columns should reflect the original table, do not change the name of the table or the columns. The added ID column doesn’t do any harm and is needed to provide the Read method to retrieve single records in a smartform view. I already have a database that I use for K2 platform stuff, my database name is: K2 Standard Assets.
-- change to your database name
USE [K2 Standard Assets]
GO

SET ANSI_NULLS ON
GO

SET QUOTED_IDENTIFIER ON
GO

CREATE TABLE [dbo].[LogArchive](
    [ID] [bigint] IDENTITY(1,1) NOT NULL,
    [MessageTimestamp] [datetime] NULL,
    [MessageID] [bigint] NULL,
    [MessageCategory] [nvarchar](max) NULL,
    [MessageName] [nvarchar](max) NULL,
    [MessageSeverity] [nvarchar](50) NULL,
    [MessageSource] [nvarchar](max) NULL,
    [MessageString] [nvarchar](max) NULL,
    [MessageUser] [nvarchar](max) NULL,
    [MessageUserIP] [nvarchar](max) NULL,
    [MessageHost] [nvarchar](max) NULL,
    [MessageOriginalSeqNum] [bigint] NULL,
 CONSTRAINT [PK_LogArchive] PRIMARY KEY CLUSTERED
(
    [ID] ASC
)WITH (PAD_INDEX  = OFF, STATISTICS_NORECOMPUTE  = OFF, IGNORE_DUP_KEY = OFF, ALLOW_ROW_LOCKS  = ON, ALLOW_PAGE_LOCKS  = ON) ON [PRIMARY]
) ON [PRIMARY] TEXTIMAGE_ON [PRIMARY]

GO
Setup the SQL logging
Now that the LogArchive table is created it is time to setup the SQL logging. First create a connection string in the K2HostServer.exe.config. I explained in a previous post how you could decrypt the <connectionStrings> section to add a connection string: copy your K2HostServer.exe.config file to C:\temp and rename it to web.config and follow the directions in:
Decrypting the section in the K2HostServer.exe.config file.
Add the connection string like in the below code section and change the attributes name and connectionString to reflect your environment.
<add name="K2StandardAssetsDB" connectionString="Data Source=DLX;Initial Catalog=K2 Standard Assets;integrated security=sspi;Pooling=True" providerName="K2BLACKPEARL" />
Rename the web.config back to K2HostServer.exe.config and copy it to its original location replacing the old file. Restart the K2 service so that the <connectionStrings> section gets encrypted and the new connection string is loaded to memory.
Now update the ArchiveExtension section in the HostServerLogging.config to the new connection string settings. The only value that needs to be changed is the value of the property ConfigDBConnectionName, in this case it is K2StandardAssetsDB, the same name I gave my connection string in the K2HostServer.exe.config file.
<Extension Name="ArchiveExtension" type="SourceCode.Logging.Extension.ArchiveExtension">
 <Property Name="HostServerConfigFileName" value="K2HostServer.exe.config" />
 <Property Name="ConfigDBConnectionName" value="K2StandardAssetsDB" />
</Extension>
Then, further down in the HostServerLogging.config file, make sure you enable the ArchiveExtension and set the LogLevel.
<LogLocation Name="ArchiveExtension" Active="True" LogLevel="Warning" />
Save the HostServerLogging.config file and restart the K2 service. Make sure the K2 service account has enough rights to create records in the LogArchive table; otherwise you will run into security issues.
Creating the K2 Host Server Log Viewer application
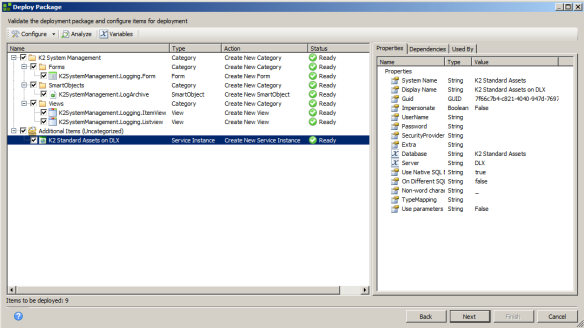
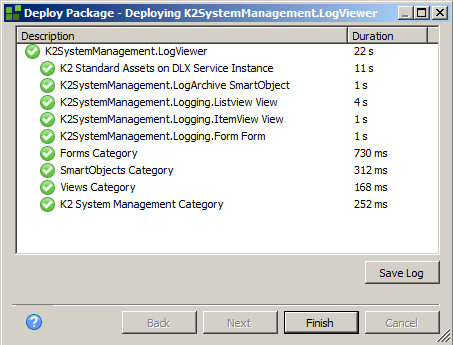
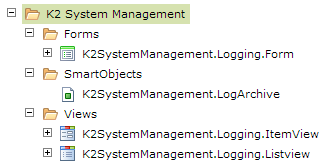
Now you can create a smartobject from the LogArchive table and start designing your views and forms. I included a Package and Deployment (P&D) package (smartforms version 1.0.5) of my smartobject, views and form. If you download the package from the K2 Underground make sure you create the LogArchive database table first. Then you can update the P&D variables for the SQL Server Instance Name and the Database Name when deploying. The P&D package creates the SQL service instance if needed, the smartobject for the LogArchive table, 2 views and 1 form.
1. Open K2 Package and Deployment, select Deploy Package
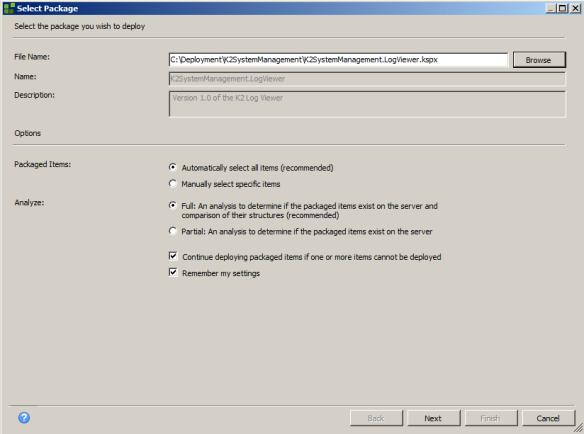
2. Browse for the downloaded package and click Next
3. Click Next, you will be asked to review the variables for the SQL server instance
4. Click OK when you’ve read the information message
5. Select a variable and click Edit, update both variables so they match your environment
6. Click OK to start the deployment
7. Click Finish when the deployment is done
8. Open the K2 Designer. There will be a new category K2 System Management with the deployed items.
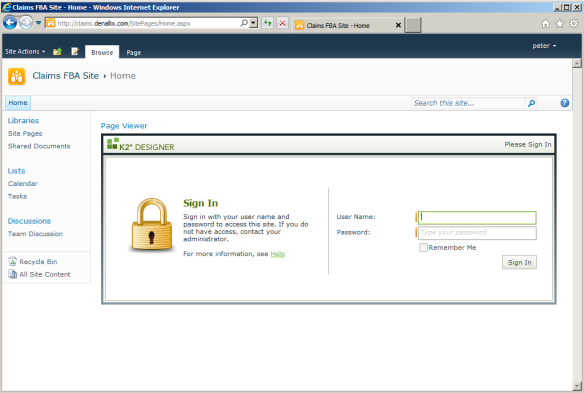
Now you and your colleagues can use the form to view and search the K2 Host Server logs in real time.

